1. Why is the number of subscribers in the «Total» address book different from the «Available» address book?
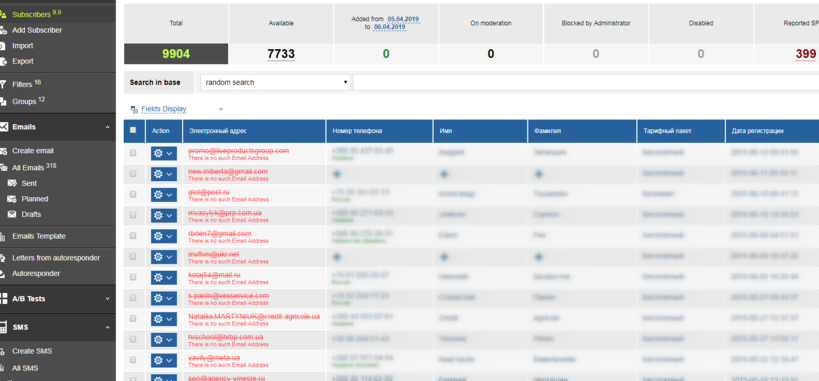
Such a difference arose due to the fact that the system identified «non-existent addresses» during import. To verify this, scroll to the bottom of the address book and go to the end of the list of subscribers.
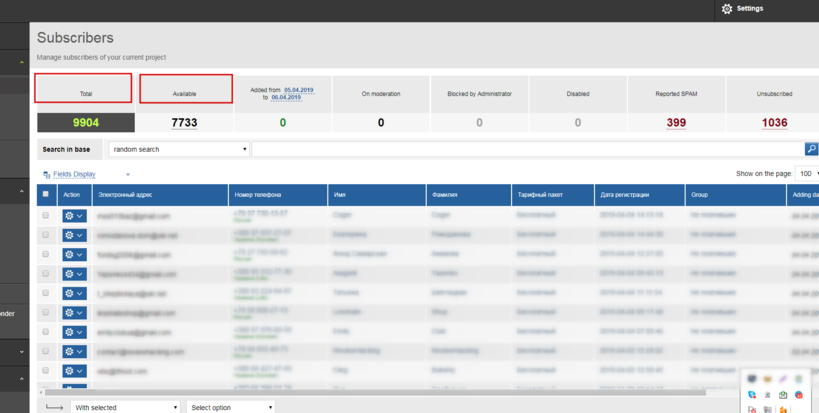
All addresses that «do not exist» in the system are marked in red and are not included when sending a letter to subscribers.
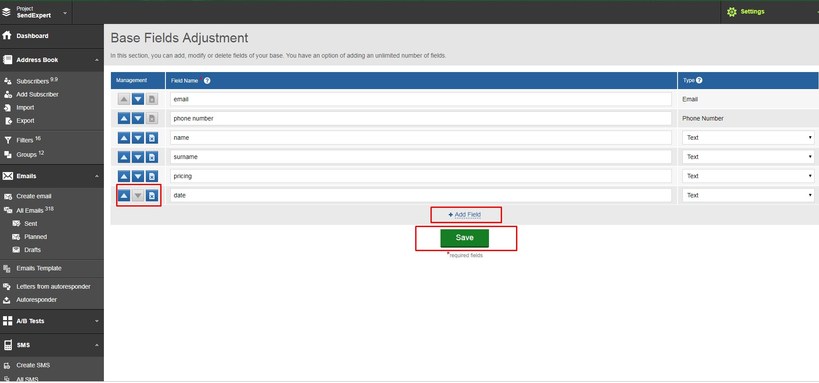
2. How can I add another field to the «Address Book» section?
Select «Adjust Base Fields» from the pop-up list in the «Settings» field in the upper right corner as it is shown in the picture.
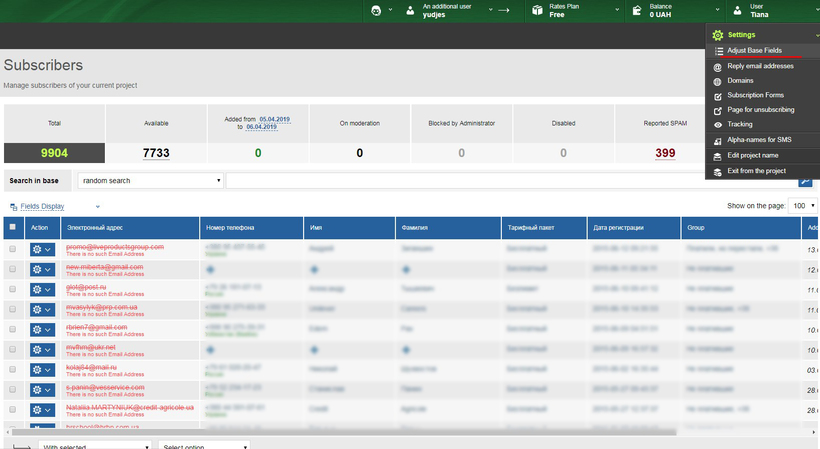
This section displays the automatic base fields. You can create new fields for your book using the «Add Field» and «Save» buttons, and afterwards, those fields will appear in the «Subscribers» section.
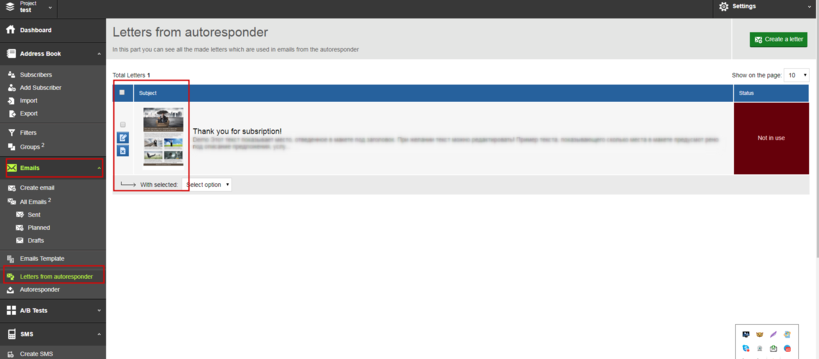
3. How can I adjust an automatic email for my subscription form which is already posted on the site?
You have to use the API function and perform all three actions:
1. Create a letter in SendExpert system. You will find the «Letters from autoresponder» subsection in the «Emails» section.
2. Use the «Add new Subscriber» API function.
3. Use the «Attach/Enable Autoresponder» API Parameters function.
More details about using the API can be found on the SendExpert website in the technical support section.
4. I downloaded the subscribers base to test the email, but my base exceeds the limits of the free Service Plan. How can I test my email if the test address is disabled?
You have to create an email in the «Emails» section and use the «Test Sending» function.
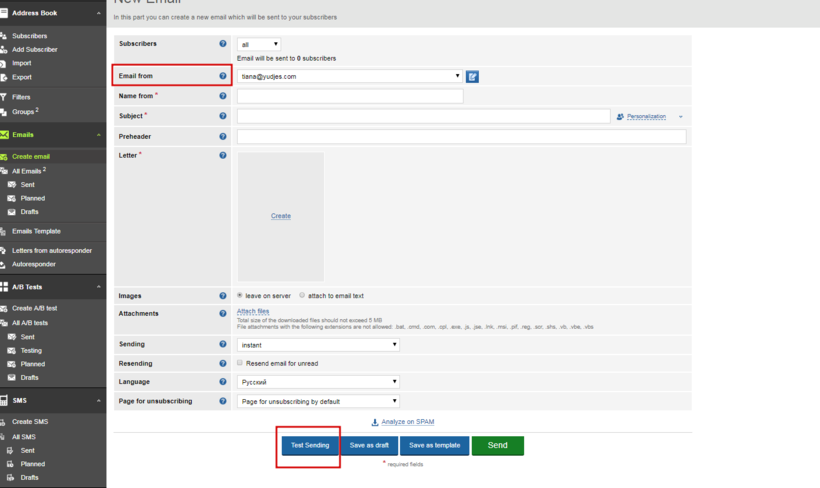
You will receive a letter like this to your «Return Address». You can add multiple return addresses for testing purposes.
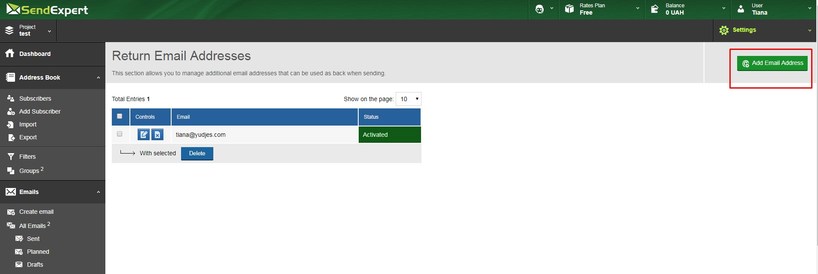
5. How can I add another «email from» to send an email?
Select «Reply Email Addresses" from the pop-up list in the «Settings» field in the upper right corner.
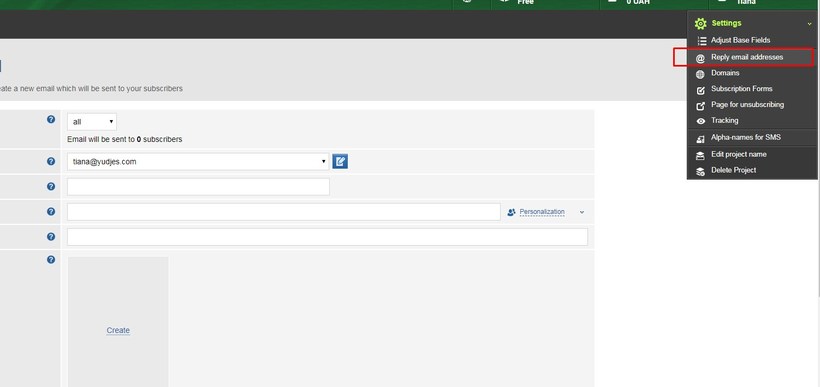
An «Add Email Address» button will appear in this section. After adding the required email address, you will receive a letter to this address to activate it. Follow the link to activate this address. The picture shows the status of the activated and non-activated address.